


YBS SuperQuilt For Loft Conversions
YBS SuperQuilt For Loft Conversions

Key Features
- BBA & BDA Certified, approved by NHBC & LABC for Building Control.
- Can meet Building Regulations without use of PIR.
- Suitable for New Builds and Renovations
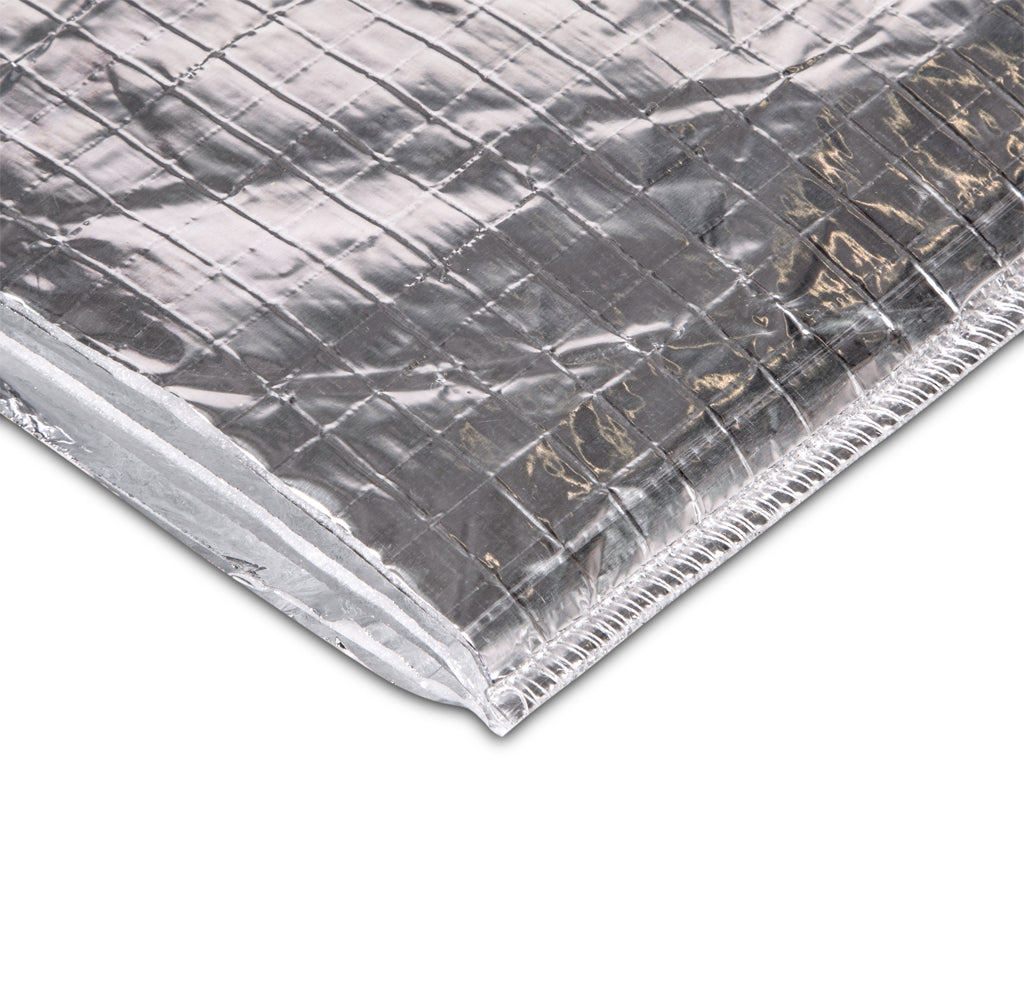
- Highly Reflective True Aluminium Outer Layers.
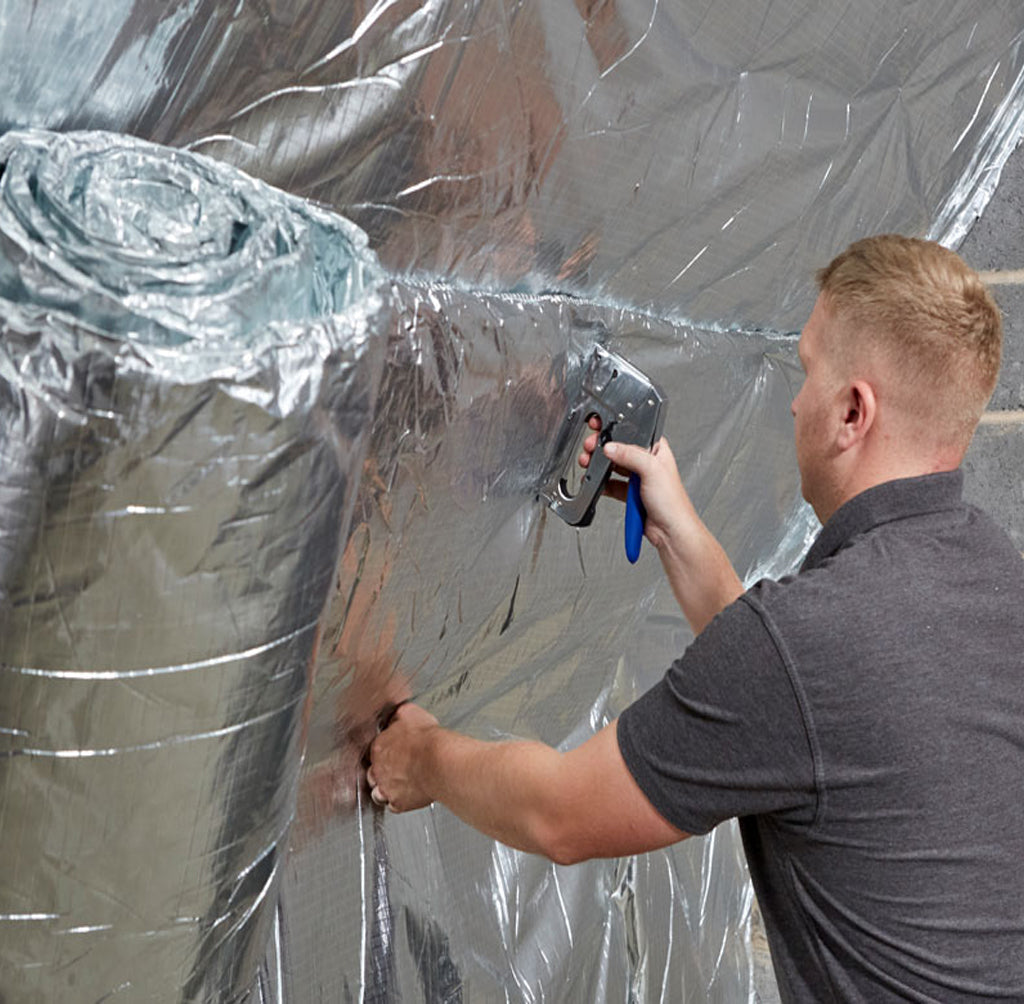
- Flexible, Thin and Easy to Install.
- High Performing Vapour Control Layer.
- Save up to 10% in Space and 30% in Cost.
- 1 roll of Thermaseal foil Joining Tape per 30m2 of YBS SuperQuilt
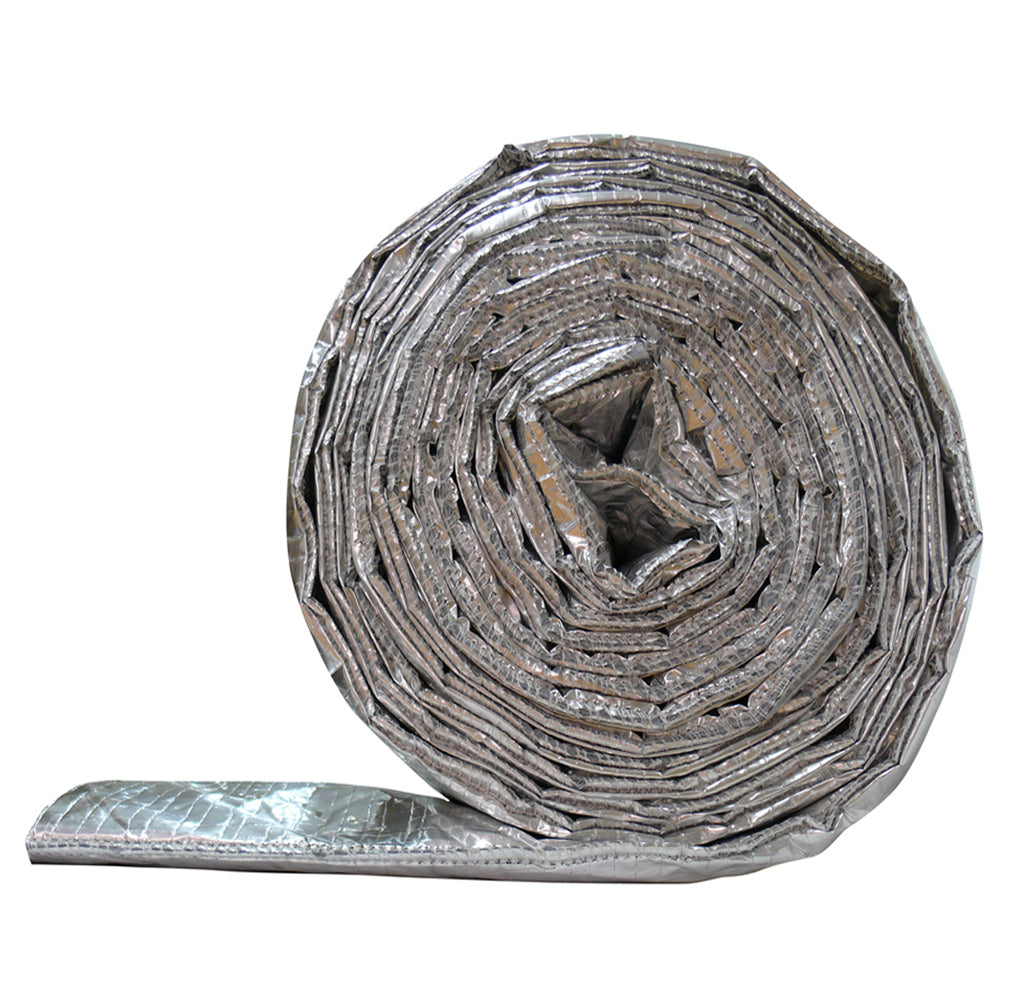
- 19 layer multifoil insulation
- UK Manufactured
- Class 1 Surface spread of flame.
- Next working day deliver available on orders over £100 + VAT before 2pm
Featured Video
YBS SuperQuilt For Loft Conversions
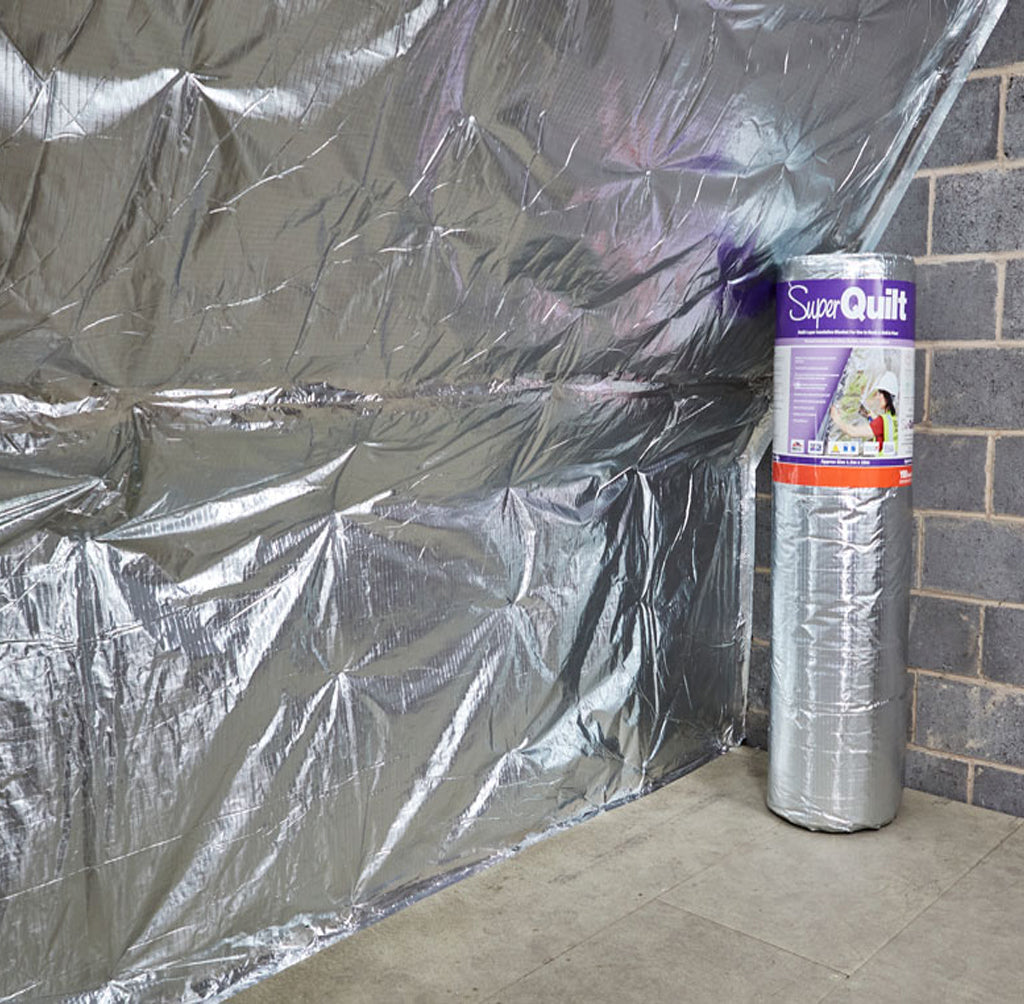
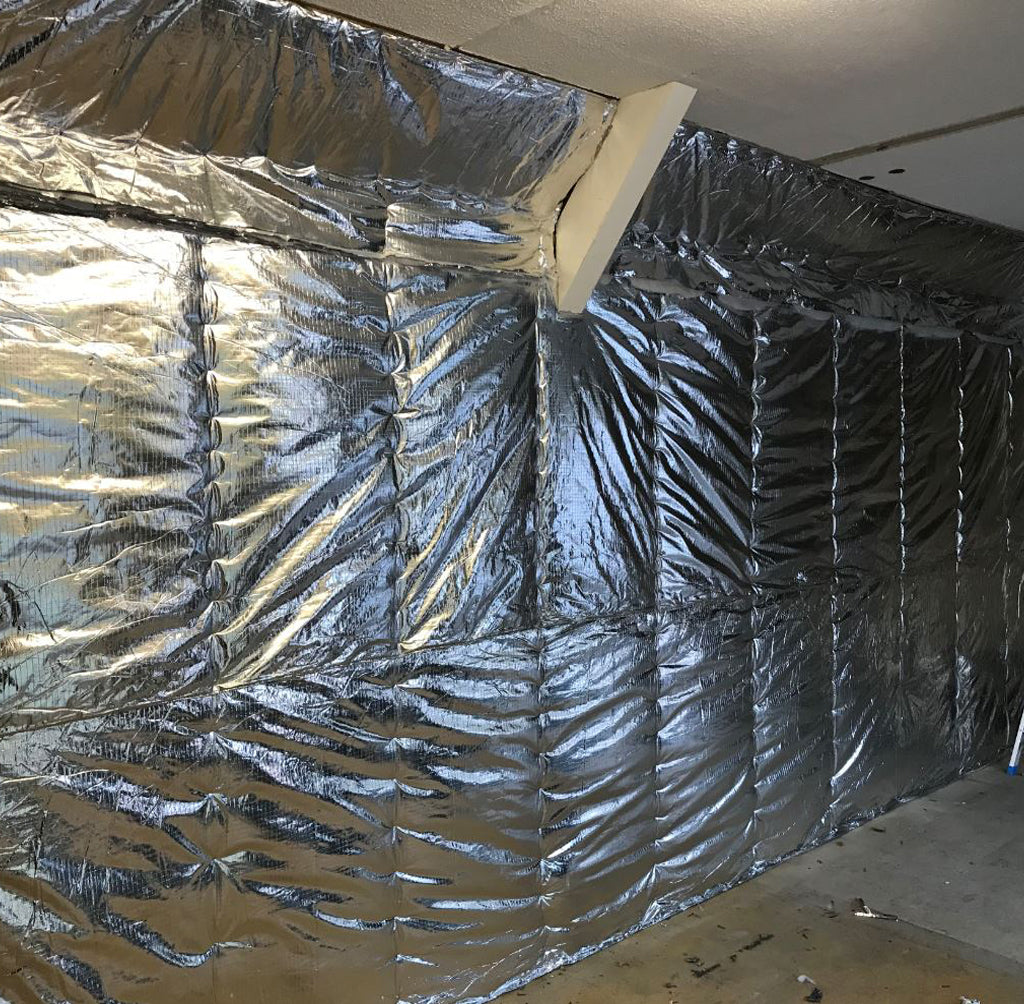
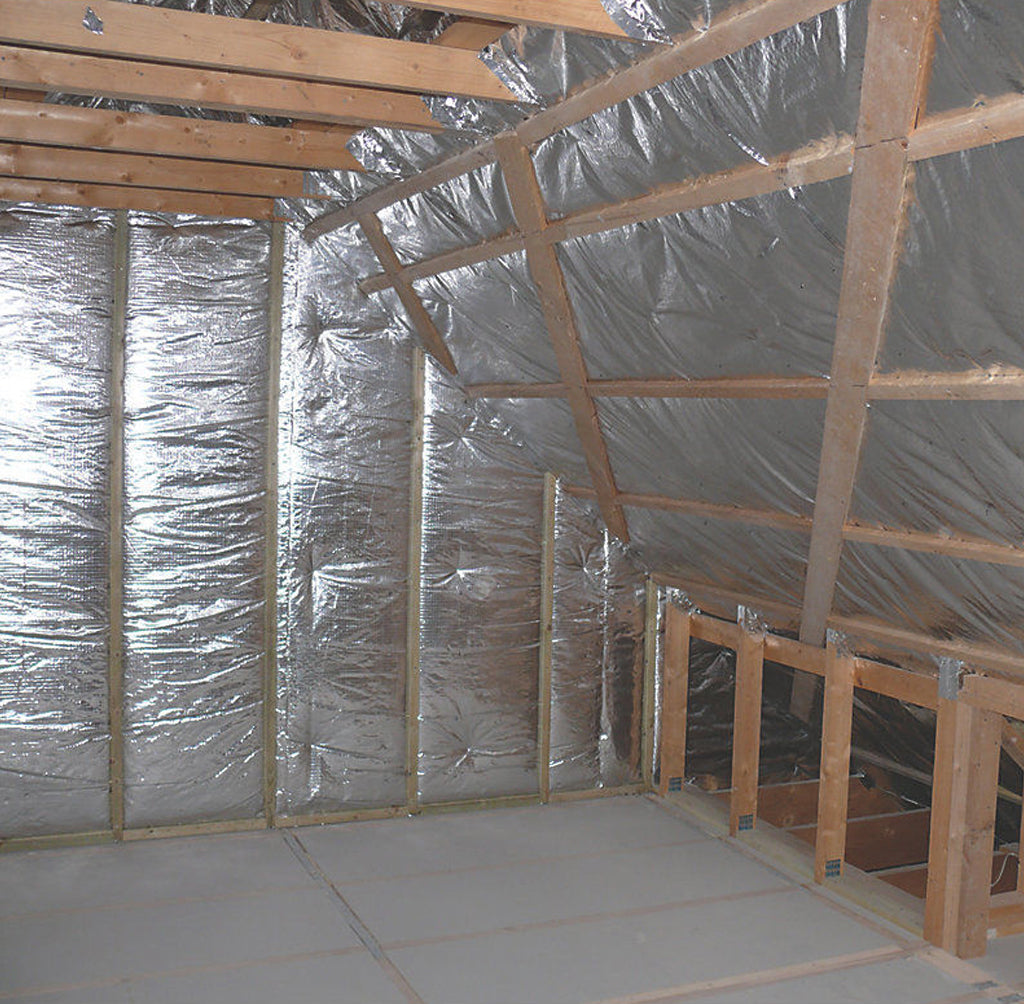
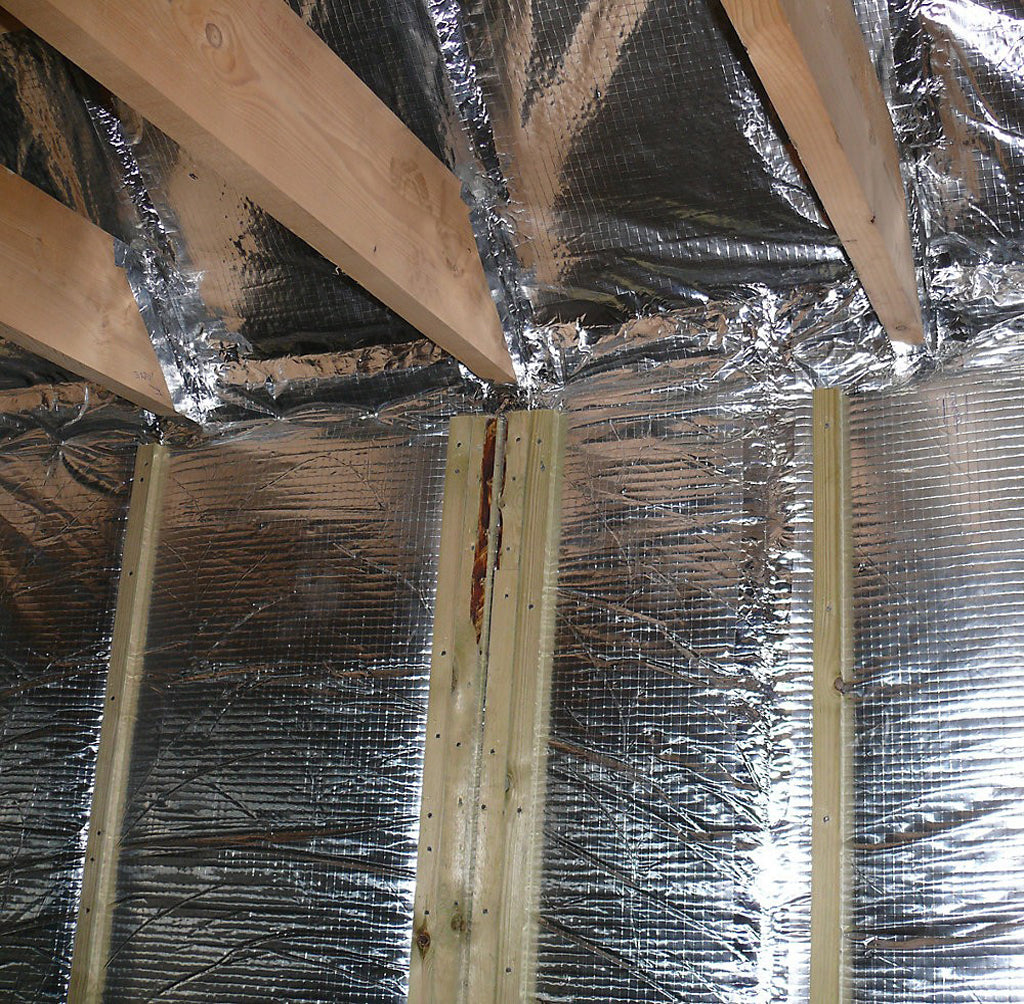
SuperQuilt is the World’s Highest Performing EN certificated Multifoil on the market. It is designed to Insulate Roofs, Walls, Floors & Conservatories in less space and less time compared to traditional materials.
Watch our online How-To-Videos or download our Fitting and Data Sheets to see how easy it is to install YBS SuperQuilt For Loft Conversions without the use of any bulky, rigid PIR boards such as Kingspan or Celotex.
SuperQuilt is used in loft conversions to save on Cost, Head Height, and Labour Time.
YBS Insulation’s SuperQuilt is manufactured in the UK using a combination of 19 layers of True Aluminium Foil, Wadding, and High-Density Foam.
YBS SuperQuilt For Loft Conversions is BBA & LABC Certificated to meet Building Control. You can use our Free & Easy Online U-Value Calculator to see how to meet the U-Value you require if your Roof is going through Building Regulations. Many of the solutions available no longer require the use of bulky, rigid insulation boards such as Kingspan and Celotex.
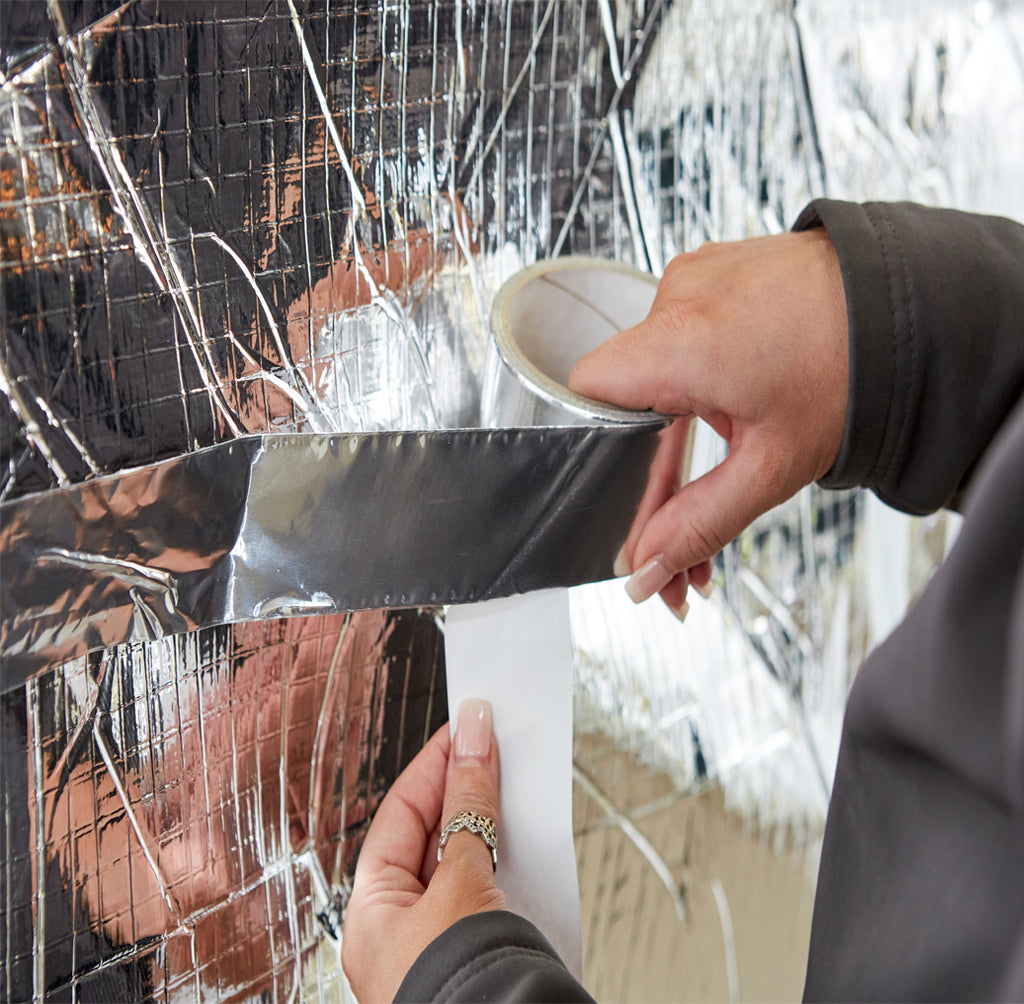
We also offer SuperQuilt Insulation with a Lifetime Guarantee when installed with Genuine ThermaSeal Foil Joining Tape. When taped and sealed SuperQuilt also works as a high-performance vapour control layer.
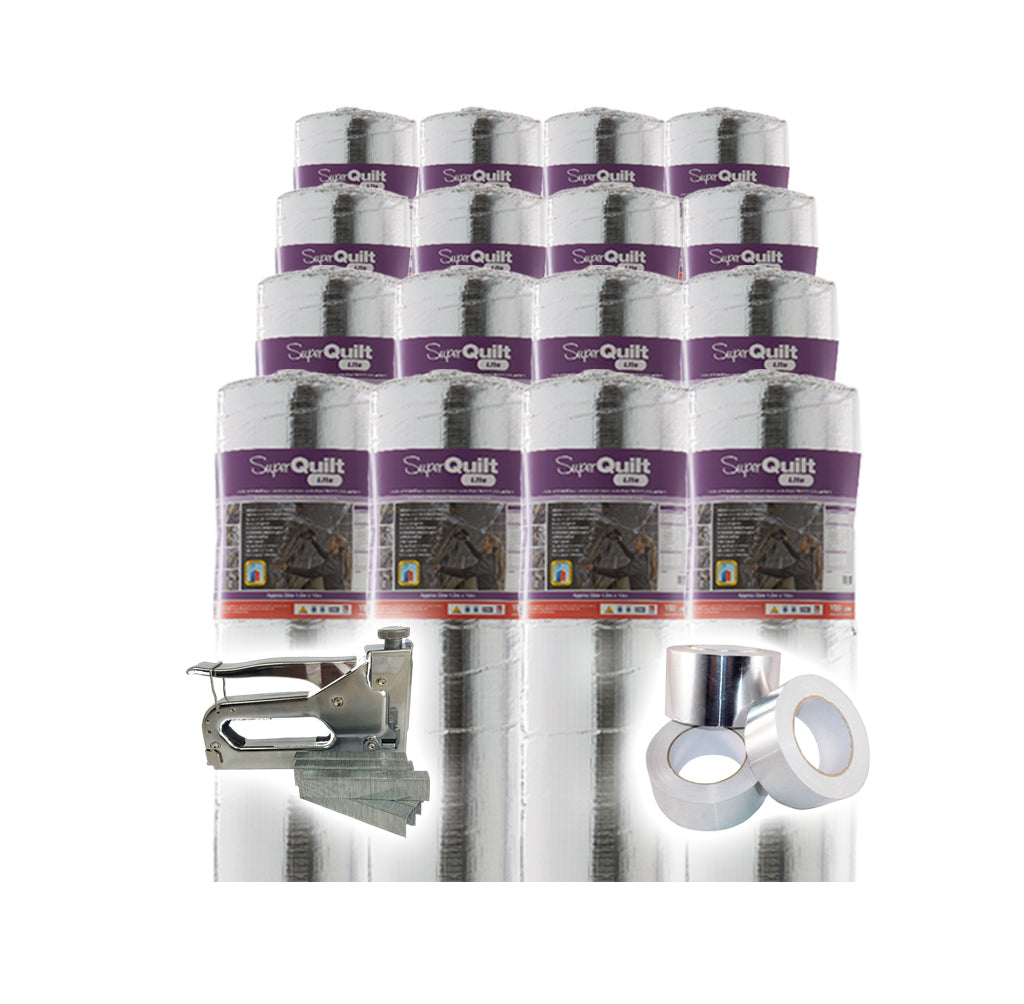
If you require a Trade Pallet Deal including Thermaseal Foil Joining Tape and Free Heavy Duty Staple Gun Click Here.
Order SuperQuilt Online before 2 pm and receive Free Next Working Day delivery on orders over £100+Vat. All orders over £500+Vat are also supplied with a Free Heavy Duty Staple Gun Kit.
Below are all solutions where YBS SuperQuilt is certified for (LABC & BDA), the links will provide further technical information, fixing instructions and typical U-values which can be achieve;
- SuperQuilt Pitched Roof Details – See Link
- SuperQuilt Flat Roof Details – See Link
- SuperQuilt ReRoofing Systems – See Link
- SuperQuilt Timber Frame Wall Systems – See Link
- SuperQuilt Dry Lining Wall Details – See Link
- SuperQuilt External Wall Insulation Details – See Link
- SuperQuilt Suspended Timber Floor Details – See Link
- SuperQuilt Solid/Floating Floor Details – See Link
- SuperQuilt Crawl Space Floor Details – See Link
1. Installing SuperQuilt

2. Overlapping & Taping

3. Eaves Detailing

4. Installing Counter Battens

5. Internal Finish

1. Install Timber Battens

2. Staple SuperQuilt
3. Overlaps & Tapes
4. Install Counter Battens

5. Installing Plasterboard

1. Installing First Run of SuperQuilt

2. Joints and Taping

3. Installing Battens

4. Finish with Flooring

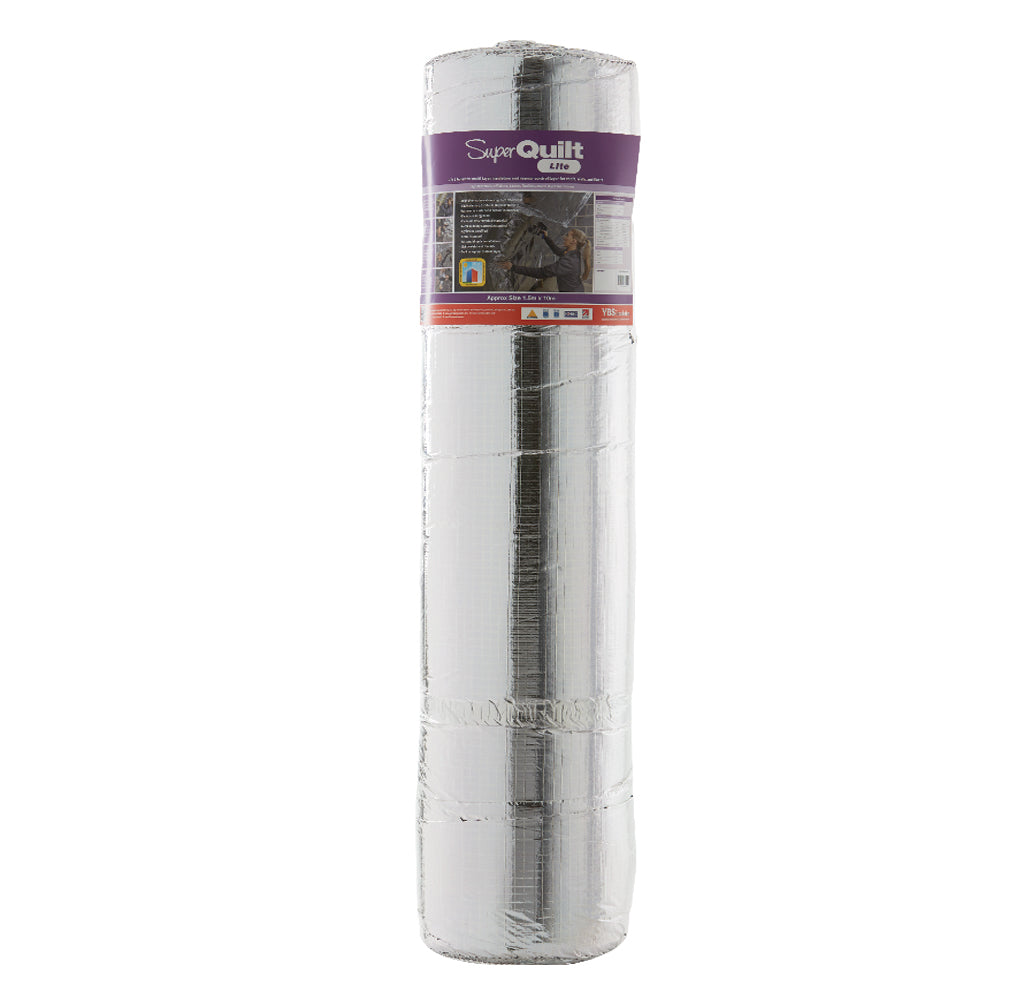
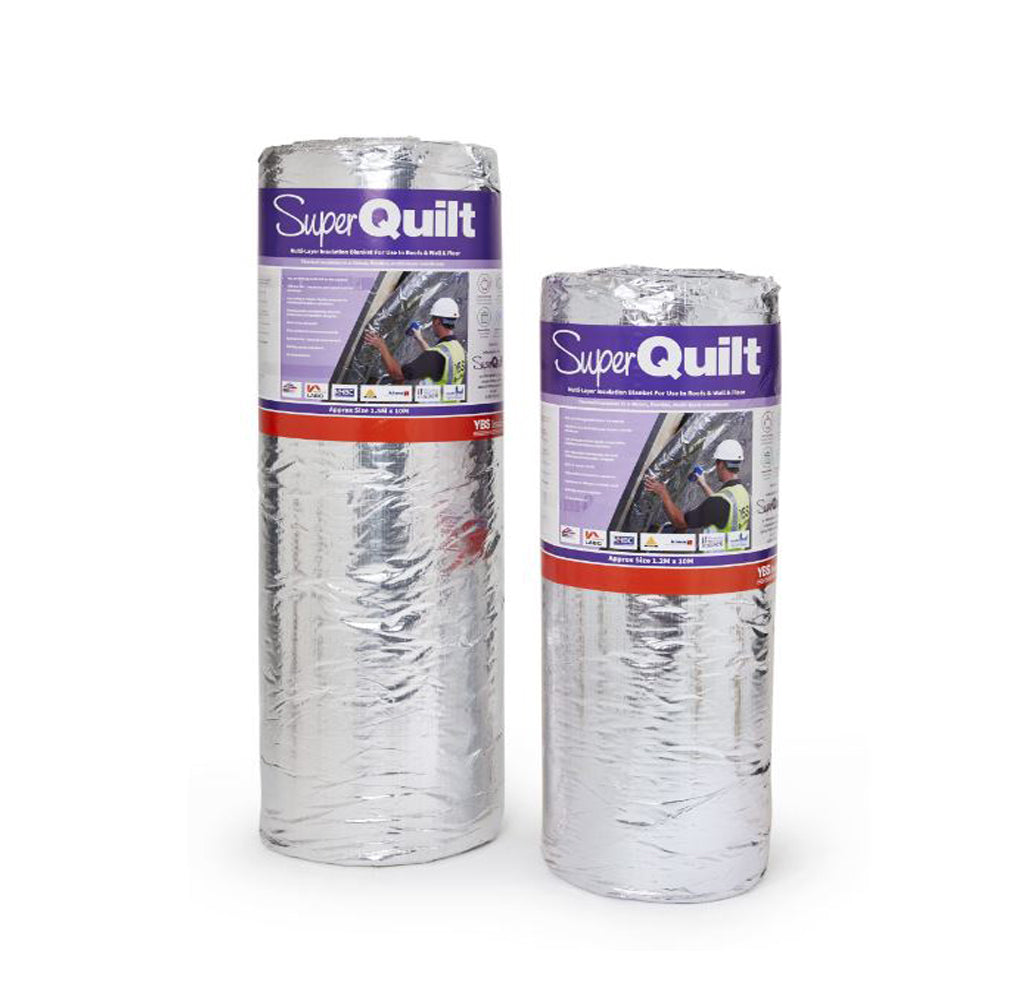
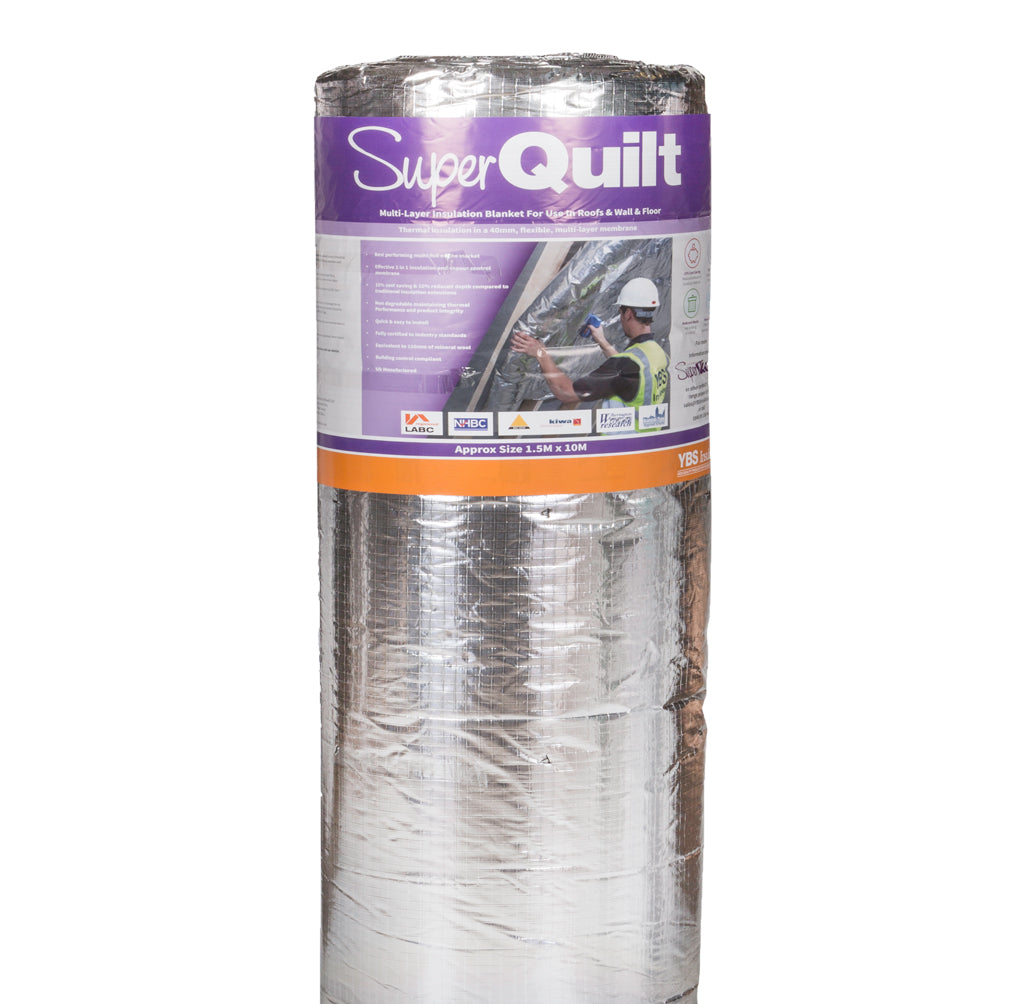
| Length | 10m |
| Width | 1.2 / 1.5m |
| Thickness | 40mm |
| Coverage | 12m² / 15m² |
| Layers | 19 |
| Weight | 12.5KG |
| Core R-value | 1.52m²K/W |
| Roof R-value | 2.50m²K/W |
| Wall R-value | 3.00m²K/W |
| Floor R-value | up to 5.56m²K/W |
| Foil Emissivity | 0.02 |
| Water Vapour Resistance | 1569MNs/g |
Is SuperQuilt harmful?
What does SuperQuilt consist of?
What thickness is SuperQuilt?
Do SuperQuilt require airgaps?
Is SuperQuilt fireproof?
What’s the difference between SuperQuilt and SuperFoil?
Does SuperQuilt achieve building regulations?
Can SuperQuilt be used on External side of Walls?
Want a Free Gift?
Spend over £500 + VAT to qualify for one of the following fixing items (select at checkout)

Staple Gun Kit

Multifoil Scissors

Foil Tape

Multifoll Screws
Need an Installer?
All products are DIY Friendly,
However Fitting Services are Availlable.